🚚 Free Worldwide Shipping on All Orders!Shop Now
Dip & Drip Wall Mount Adapter (Adapter only)
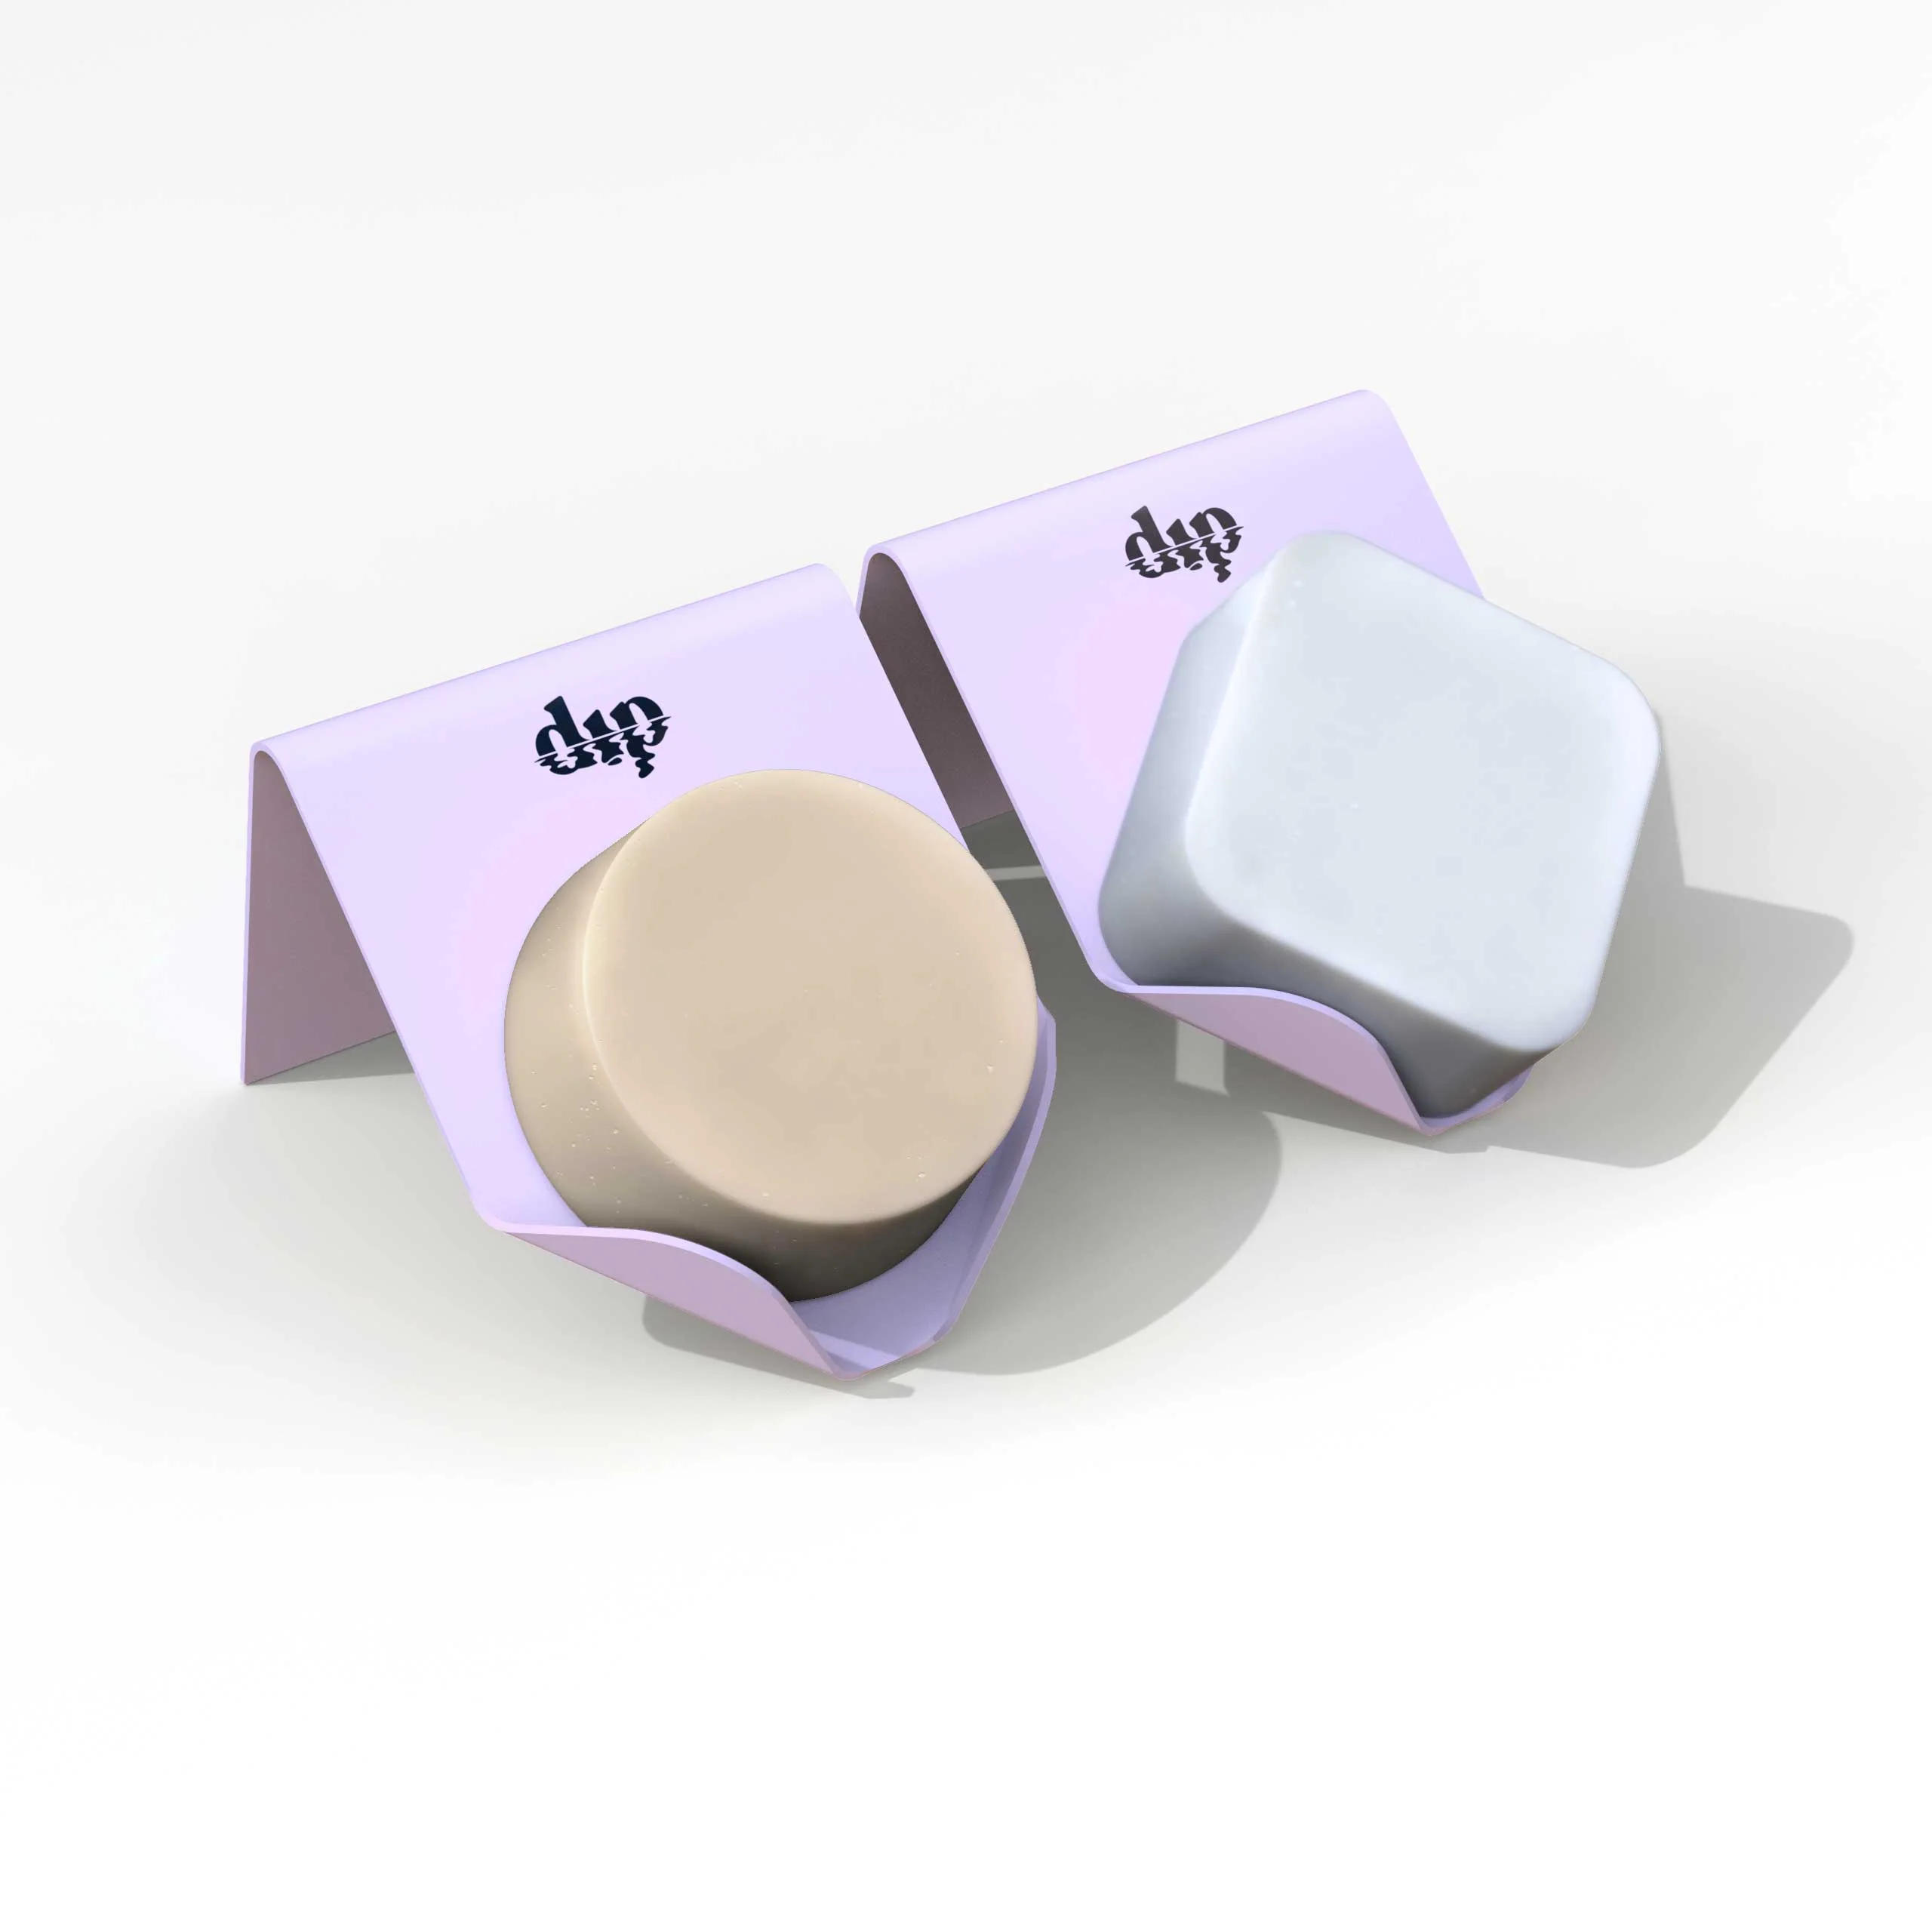
THE NEXT CHAPTER IN BAR STORAGE
We've turned the page on soggy haircare bars that become one with coasters or sink into wire & bamboo shower caddies.
COMES WITH:
-
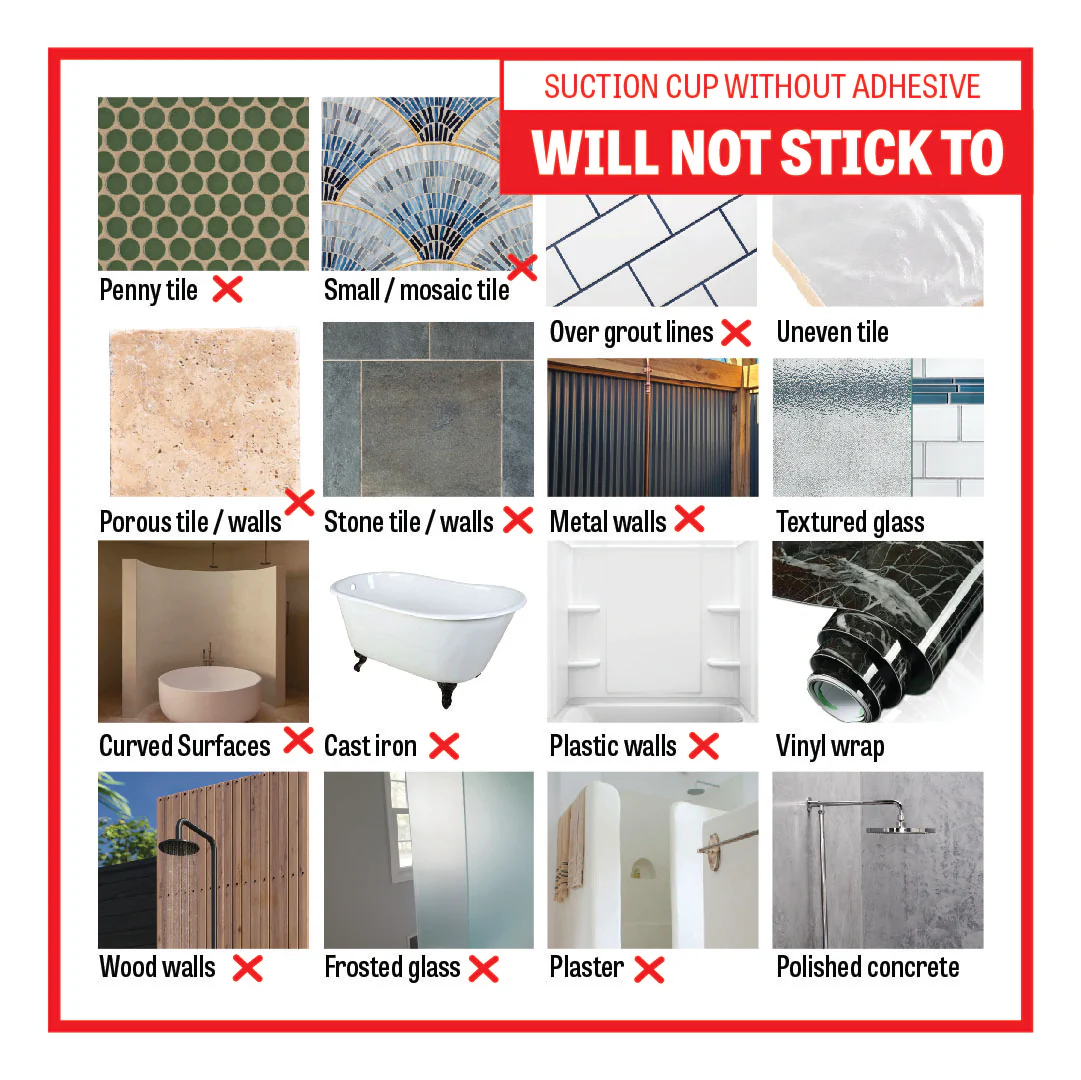
Double Stick Waterproof Tape (use for uneven, or porous walls)
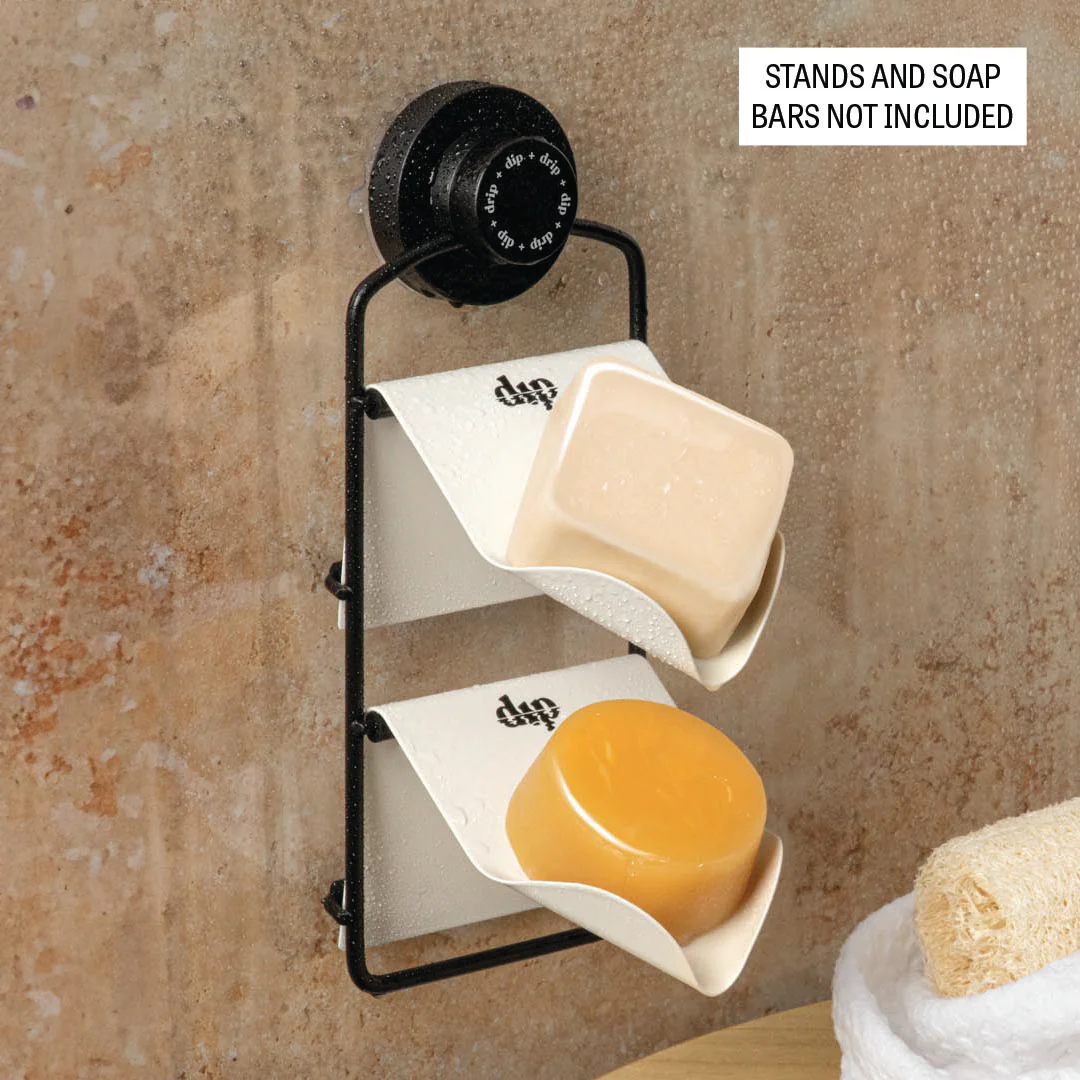
- STANDS NOT INCLUDED
The wall adapter takes the bars off the shelf and onto the wall away from the stream of water.
Watch our installation video for step-by-step instructions on mounting your Dip wall mount adaptor.
INSTRUCTIONS:
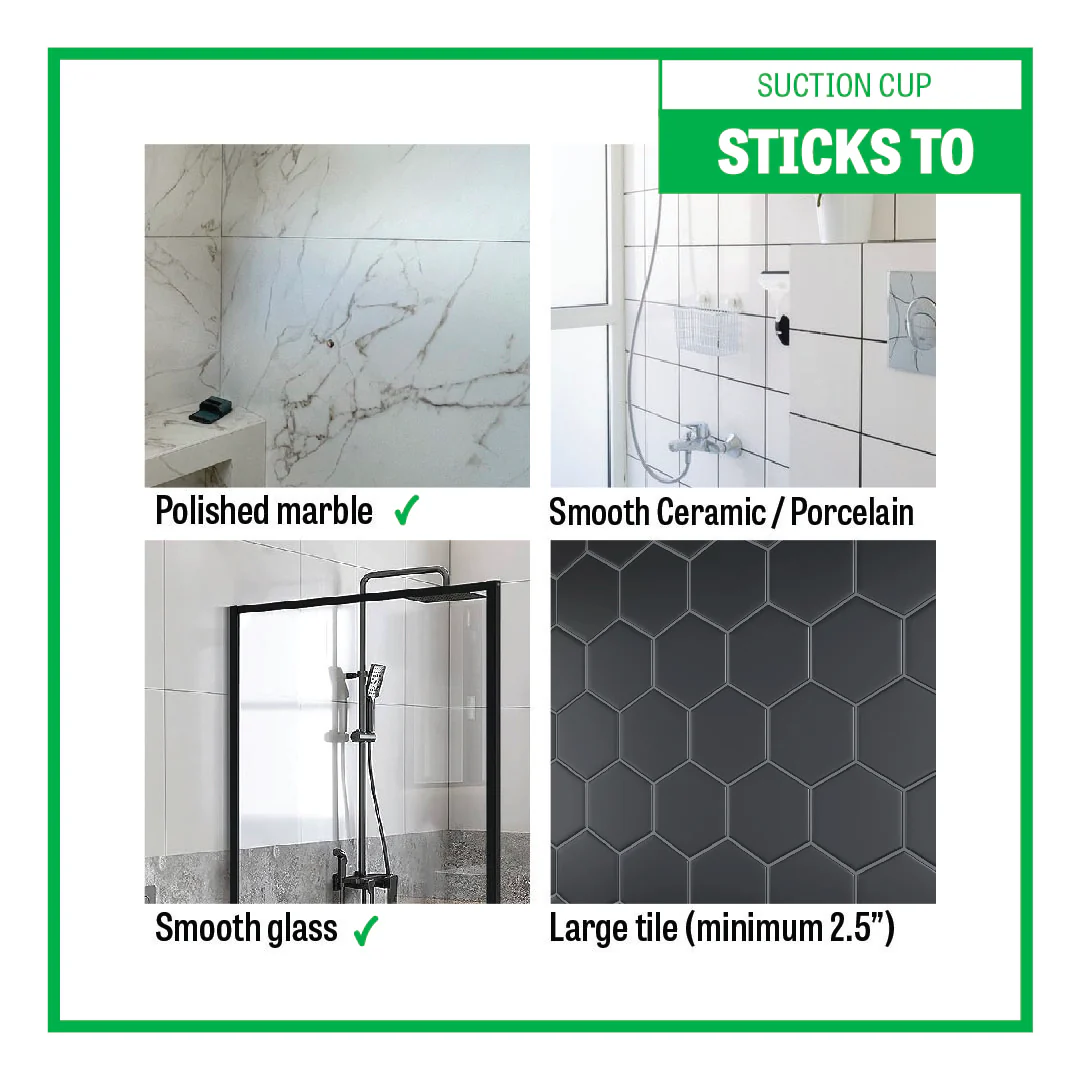
- Step 1: Prep wall — spray tile cleaner + wipe dry
- Step 2: Rinse Suction cup with water only + wipe dry
- Step 3: Loosen the knob 3–4 turns — it should be open but still attached to the mount
---Skip to step 6 if mounting to glass---
- Step 4: Apply tape to suction cup, NOT the wall
- Step 5: Remove sticker backing
- Step 6: Place rack on wall avoiding grout lines
- Step 7: Screw knob fully closed while pressing firmly towards the wall
-Check-in every month to ensure everything is still tight and holding firm.
-Need to move it? Unscrew + peel carefully
-Need a new sticker pad? Contact us
US PATENT: 11,877,653 B1
$18.00
Dip & Drip Wall Mount Adapter (Adapter only)—
$18.00


Description
THE NEXT CHAPTER IN BAR STORAGE
We've turned the page on soggy haircare bars that become one with coasters or sink into wire & bamboo shower caddies.
COMES WITH:
-
Double Stick Waterproof Tape (use for uneven, or porous walls)
- STANDS NOT INCLUDED
The wall adapter takes the bars off the shelf and onto the wall away from the stream of water.
Watch our installation video for step-by-step instructions on mounting your Dip wall mount adaptor.
INSTRUCTIONS:
- Step 1: Prep wall — spray tile cleaner + wipe dry
- Step 2: Rinse Suction cup with water only + wipe dry
- Step 3: Loosen the knob 3–4 turns — it should be open but still attached to the mount
---Skip to step 6 if mounting to glass---
- Step 4: Apply tape to suction cup, NOT the wall
- Step 5: Remove sticker backing
- Step 6: Place rack on wall avoiding grout lines
- Step 7: Screw knob fully closed while pressing firmly towards the wall
-Check-in every month to ensure everything is still tight and holding firm.
-Need to move it? Unscrew + peel carefully
-Need a new sticker pad? Contact us
US PATENT: 11,877,653 B1